- 1. Decide whether or not to use a resume template
- 2. Write your name and contact information at the top
- 3. Write a convincing introduction
- 4. Summarize your work experience
- 5. Add your education history
- 6. List your relevant skills
- 7. Include career accomplishments and awards at the bottom
- Tips for creating an employer-ready resume in Word

Struggling to get interviews?
Microsoft Office makes it easy to create a polished, well-formatted resume for any industry.
If you’re looking for quick instructions on making a resume in Word, this article is for you.
1. Decide whether or not to use a resume template
Pre-formatted resume templates are quick and easy to use. Word comes with several free templates, but if you don’t see one you like, you can also download a free resume template from our website.
Open Word and search for “resume” using the search bar in the top right-hand corner. Choose “templates” and select a design.
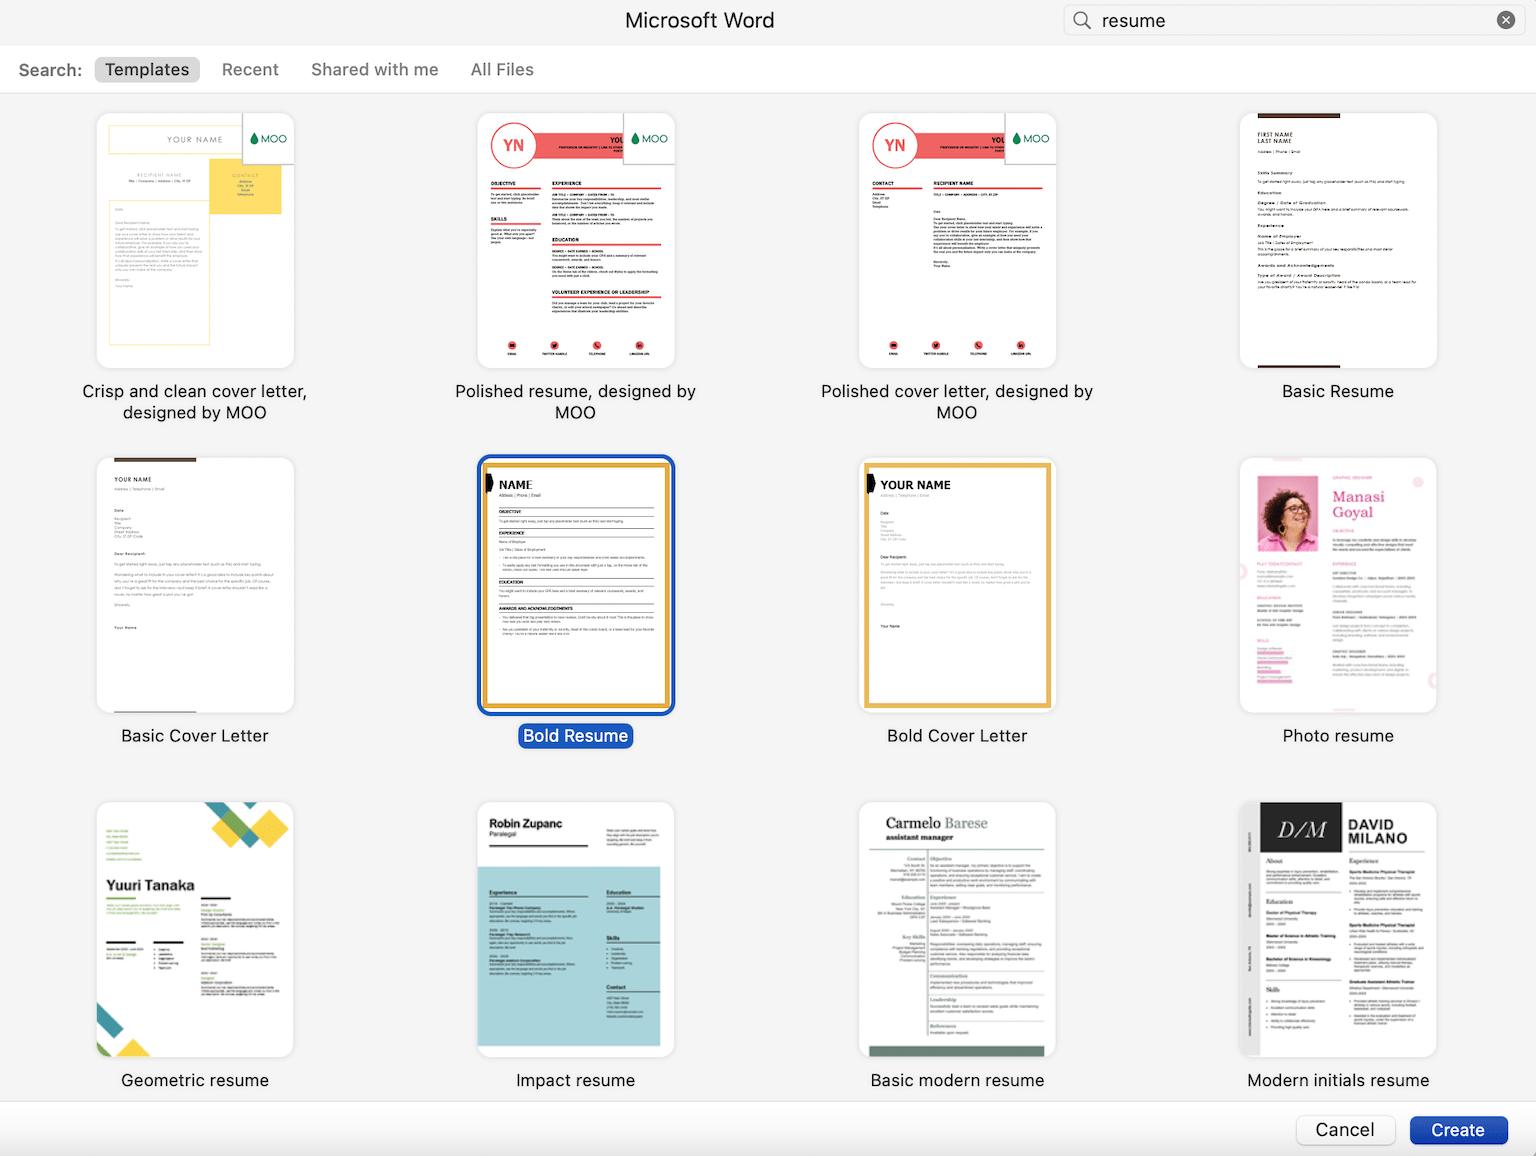
Our Microsoft Word resume templates are designed by professionals to meet current hiring manager standards.
If you’re creating your resume in Word without a template, follow our formatting tips below.
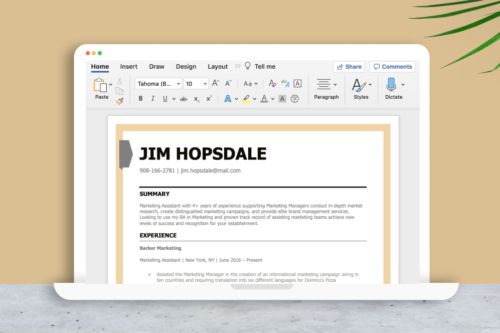
2. Write your name and contact information at the top
Now that you have the template open, start by editing the header at the top of the page:
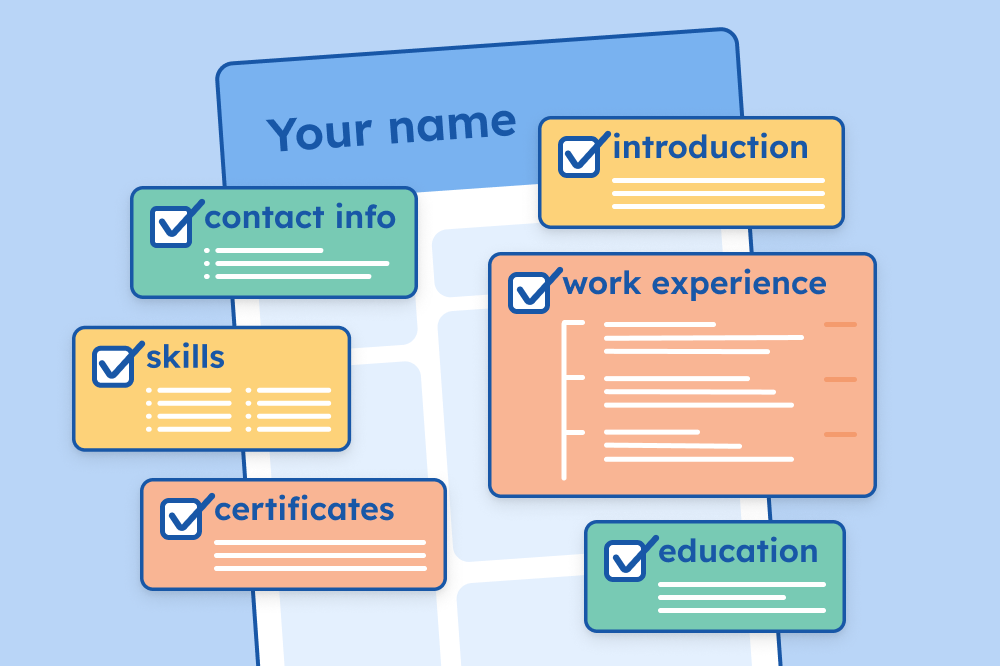
A resume header should always include your:
- Full name
- Phone number
Here’s what a properly formatted header looks like in Word:

You can also include your current job title in your header to immediately highlight your professional background.
3. Write a convincing introduction
Write your introduction in a new section directly below your header.
The best introduction for most job seekers is a resume summary that can be quickly modified for a wide variety of industries and experience levels.
Your resume summary functions as a sales pitch showing that you’re the most qualified person for the job. For maximum impact, showcase your main professional achievements and skills in one to five sentences.
Here’s an example of what a well-written summary looks like on a Word resume template:

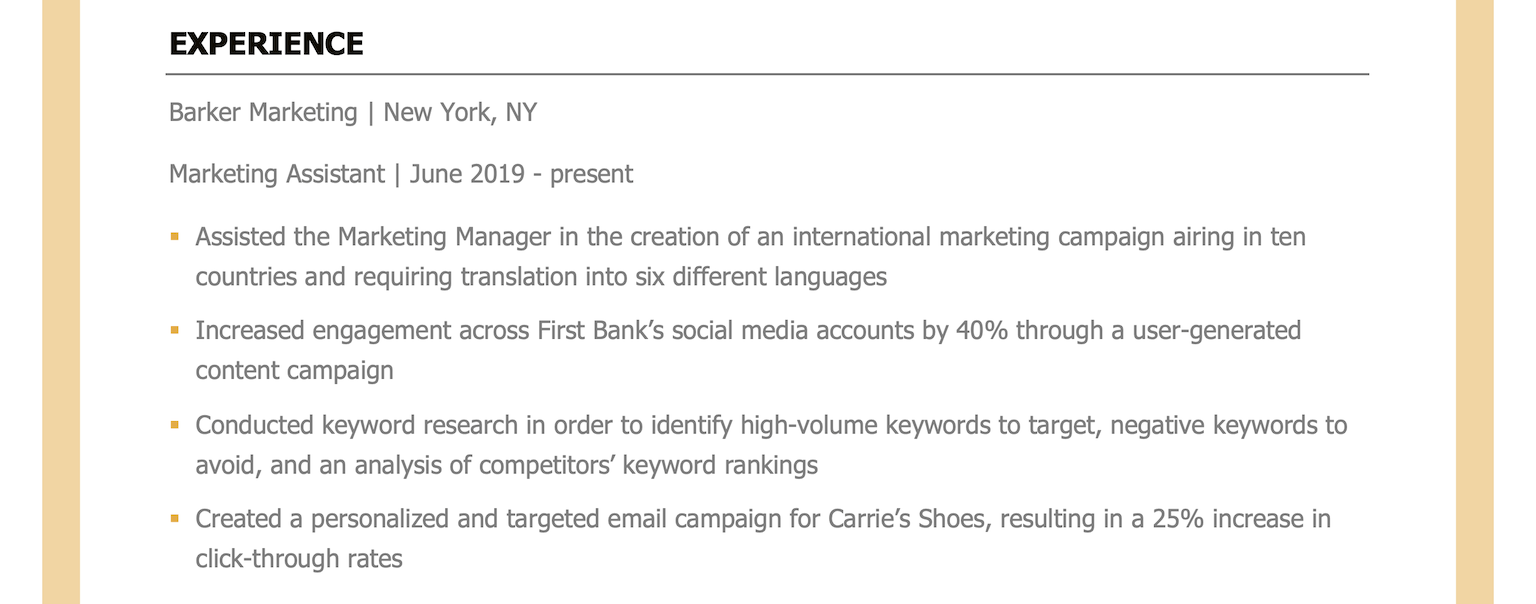
4. Summarize your work experience
Your work experience section is the core of your resume, as it proves that you have the qualifications and skills to do the job.
To start, click on the section of your Word document labeled “Experience”.
Then, list your work experience in reverse chronological order, meaning that your most recent job title is placed at the top of the experience section. Remember to only include experience that is relevant to the job that you’re applying for.
For each previous job, include the following basic information:
- Job title
- Company name
- Company address (city and state)
- Dates of employment
You should also add three to five bullet points describing your duties and achievements under each job title. Remember to use strong action verbs to show off your skills and quantify your achievements with numbers and percentages whenever possible.
If your work experience is thin, you can use a different resume format, like a functional resume or combination resume to emphasize your relevant skills.
Here’s an example:
5. Add your education history
If you already have a few years of work experience, you should keep your education history brief.
You should only include the following details for each school you’ve attended:
- School name and location
- Degree title and minor (if applicable)
- Graduation date (or anticipated graduation date)
- Awards, honors, and GPA (if it’s 3.5 or higher)
However, if you’re writing a resume with no work experience, or you’re a recent college graduate, consider adding more detail to your education section, like extracurricular activities or relevant coursework.
Here’s an example of a well-written education section:

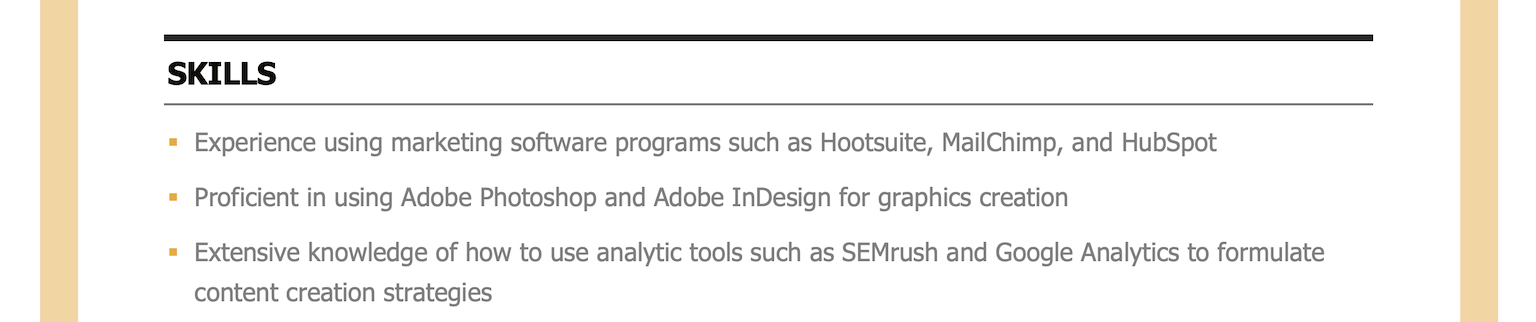
6. List your relevant skills
Your skills section shows that you have the expertise needed to perform well in the role you’re applying for.
Make sure that you highlight any skills mentioned in the job listing that match your professional experience to ensure that you have an ATS-friendly resume that doesn’t get automatically rejected before landing on the hiring manager’s desk.
Here’s an example of what your skills section should look like:
7. Include career accomplishments and awards at the bottom
Finally, consider adding an additional section for things like awards, accomplishments, or professional affiliations.
This will usually go at the bottom of your resume, like this:

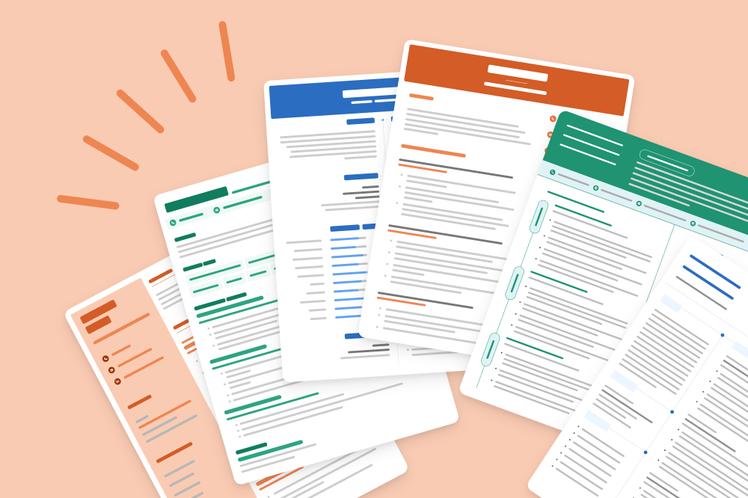
Resume examples for different industries
Not sure what your resume should look like? The best way to learn is by taking inspiration from resume examples written by other candidates in your industry.
Tips for creating an employer-ready resume in Word
The following tips will help you guarantee clean resume formatting in Word.
Set your margins to between 0.5” and 1”
Keeping your margins between 0.5” and 1” ensures that your resume is easy to read.
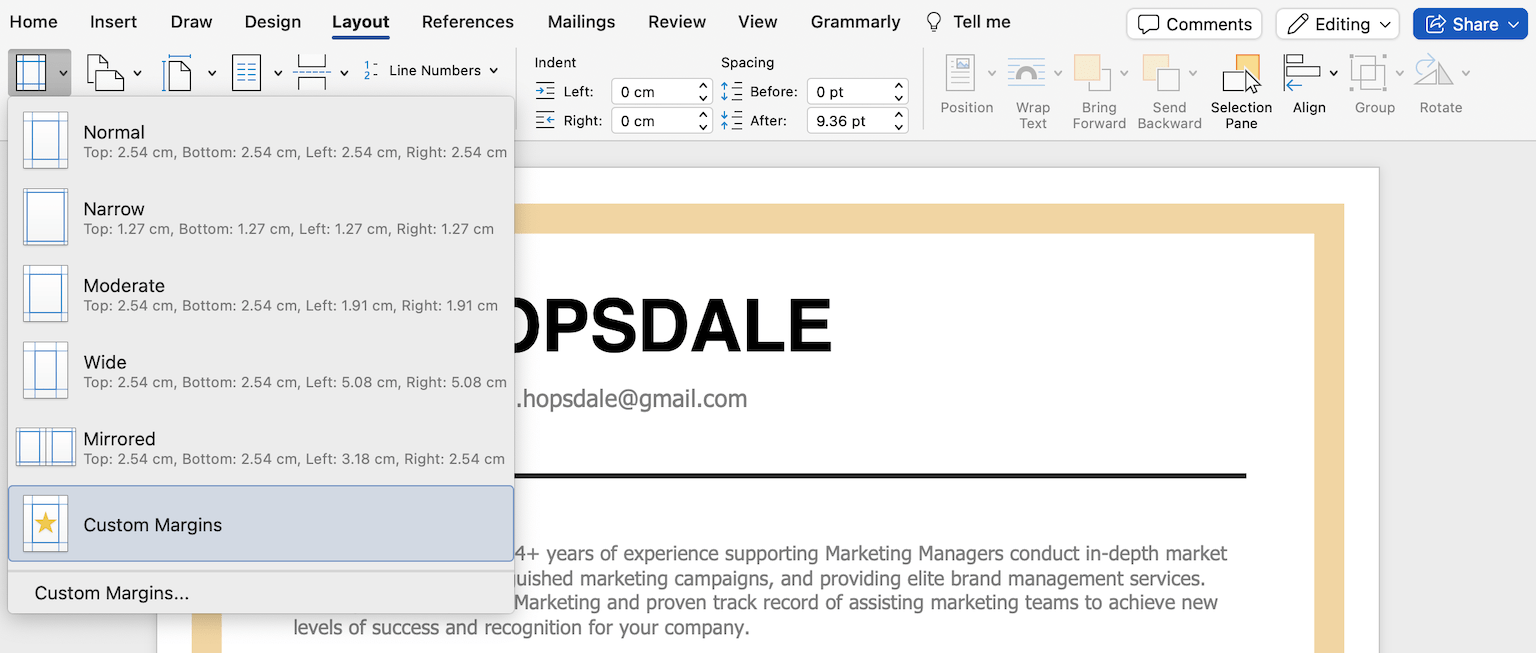
You can adjust your margins in Microsoft Word by selecting “Layout” and then clicking on “Margins.”
Then, either choose a different preset for your margins (such as “Narrow”) or set your own by clicking “Custom Margins”.
Adjust your line spacing to between 1.0 and 1.5
Setting your line spacing to between 1.0 and 1.5 keeps your resume balanced and easy to read.
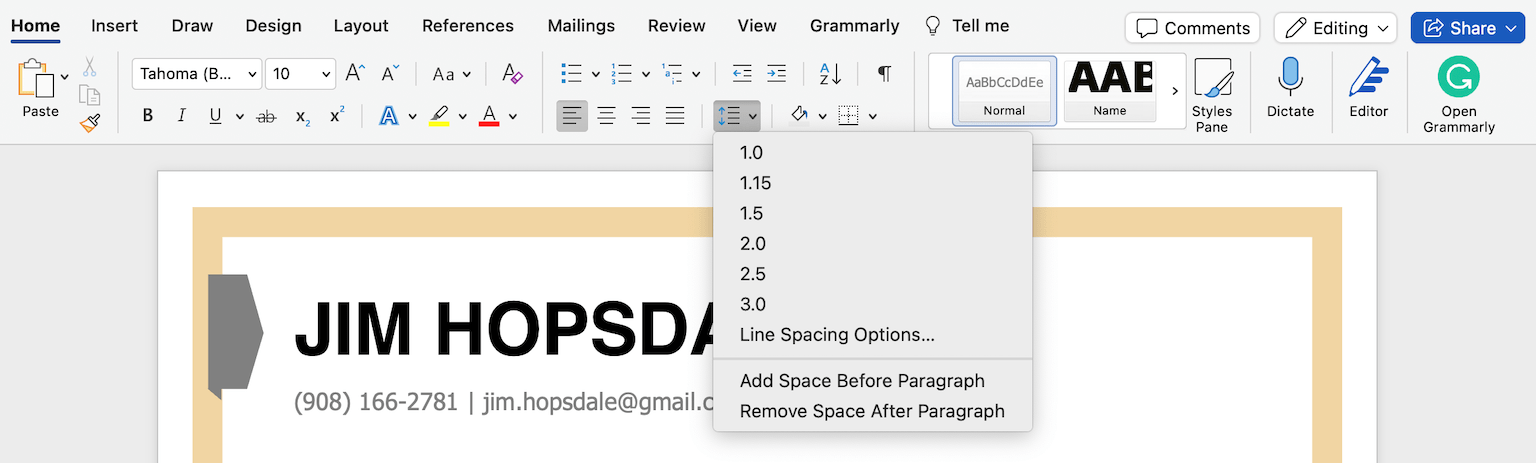
Click the “Line and Paragraph Spacing” icon and choose “Line Spacing Options.”
Then, you can go to “Spacing” to change the size of the “Before” and “After” line breaks, or to “Line Spacing” to choose how much space there is between each line.
Add horizontal lines to break up sections
Horizontal lines help break up your resume sections and make it easier to read.
There are three ways to add horizontal lines in Word:
- Press shift + the hyphen key to create an underscore, and then hold it until you have a line of the length you want
- If you need the line to stretch across the width of the page, press the hyphen key three times and then press enter
- Click on the “Borders” icon and choose “Horizontal Line”
Avoid adding tables, graphics, and images
Tables, graphics, and images may add visual interest to your resume, but they make your resume hard to read in an applicant tracking system (ATS).
Stick to simple formatting when highlighting information (e.g., bolded headers, bulleted lists). Keep the focus on your skills and experience.
Use an ATS-friendly font
Microsoft Word has a wide variety of default fonts, but many are unsuitable for your resume.
To make sure your resume is easy to read, you need to choose a standard font that an ATS can parse easily.
The following fonts are safe choices for an ATS scan:
- Calibri
- Georgia
- Arial
- Cambria
- Garamond
- Helvetica
Save your finished document as a PDF
Once you’re finished, save your Word document as a PDF to ensure your document looks the same across different devices and job application forms.
Sending a Microsoft Word document is acceptable, but some employers may encounter issues reading your document clearly. They might not have the correct fonts you used installed or they might be using a different version of Microsoft Word, in which case your resume’s formatting may change when they open it.
Saving your document as a PDF preserves the formatting so that it looks exactly the same on any computer.
About the Author

Seb is a Certified Professional Resume Writer with 10 years of combined experience in career counseling and editorial work. With a MA in International Communications from National Chengchi University (Taiwan), he helps job seekers translate their experience into employer-ready applications for global job markets.
Click to rate this article
4.7 Average rating