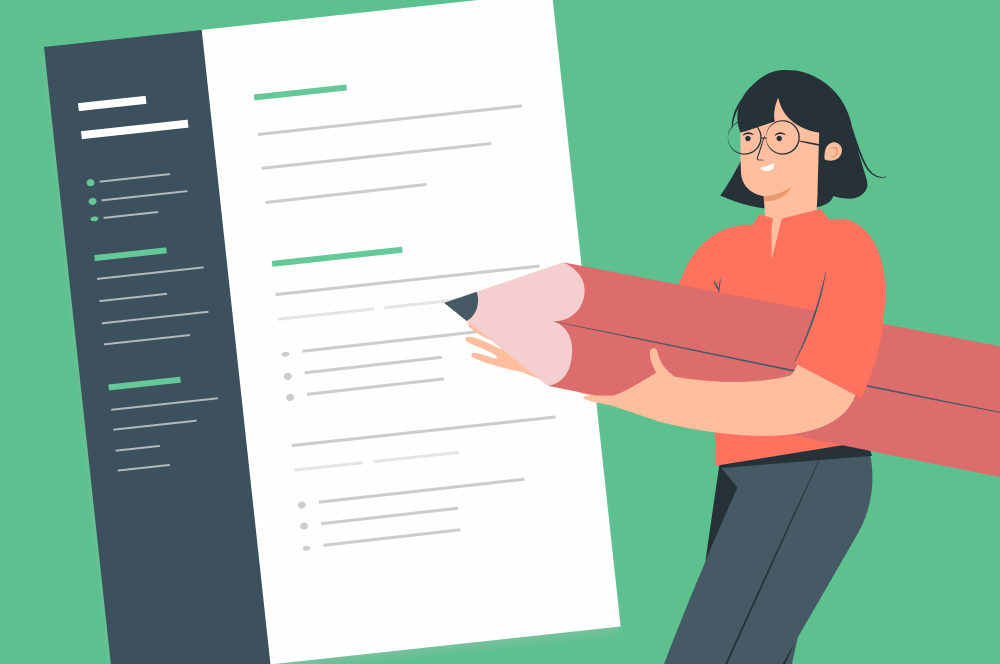

Struggling to get interviews?
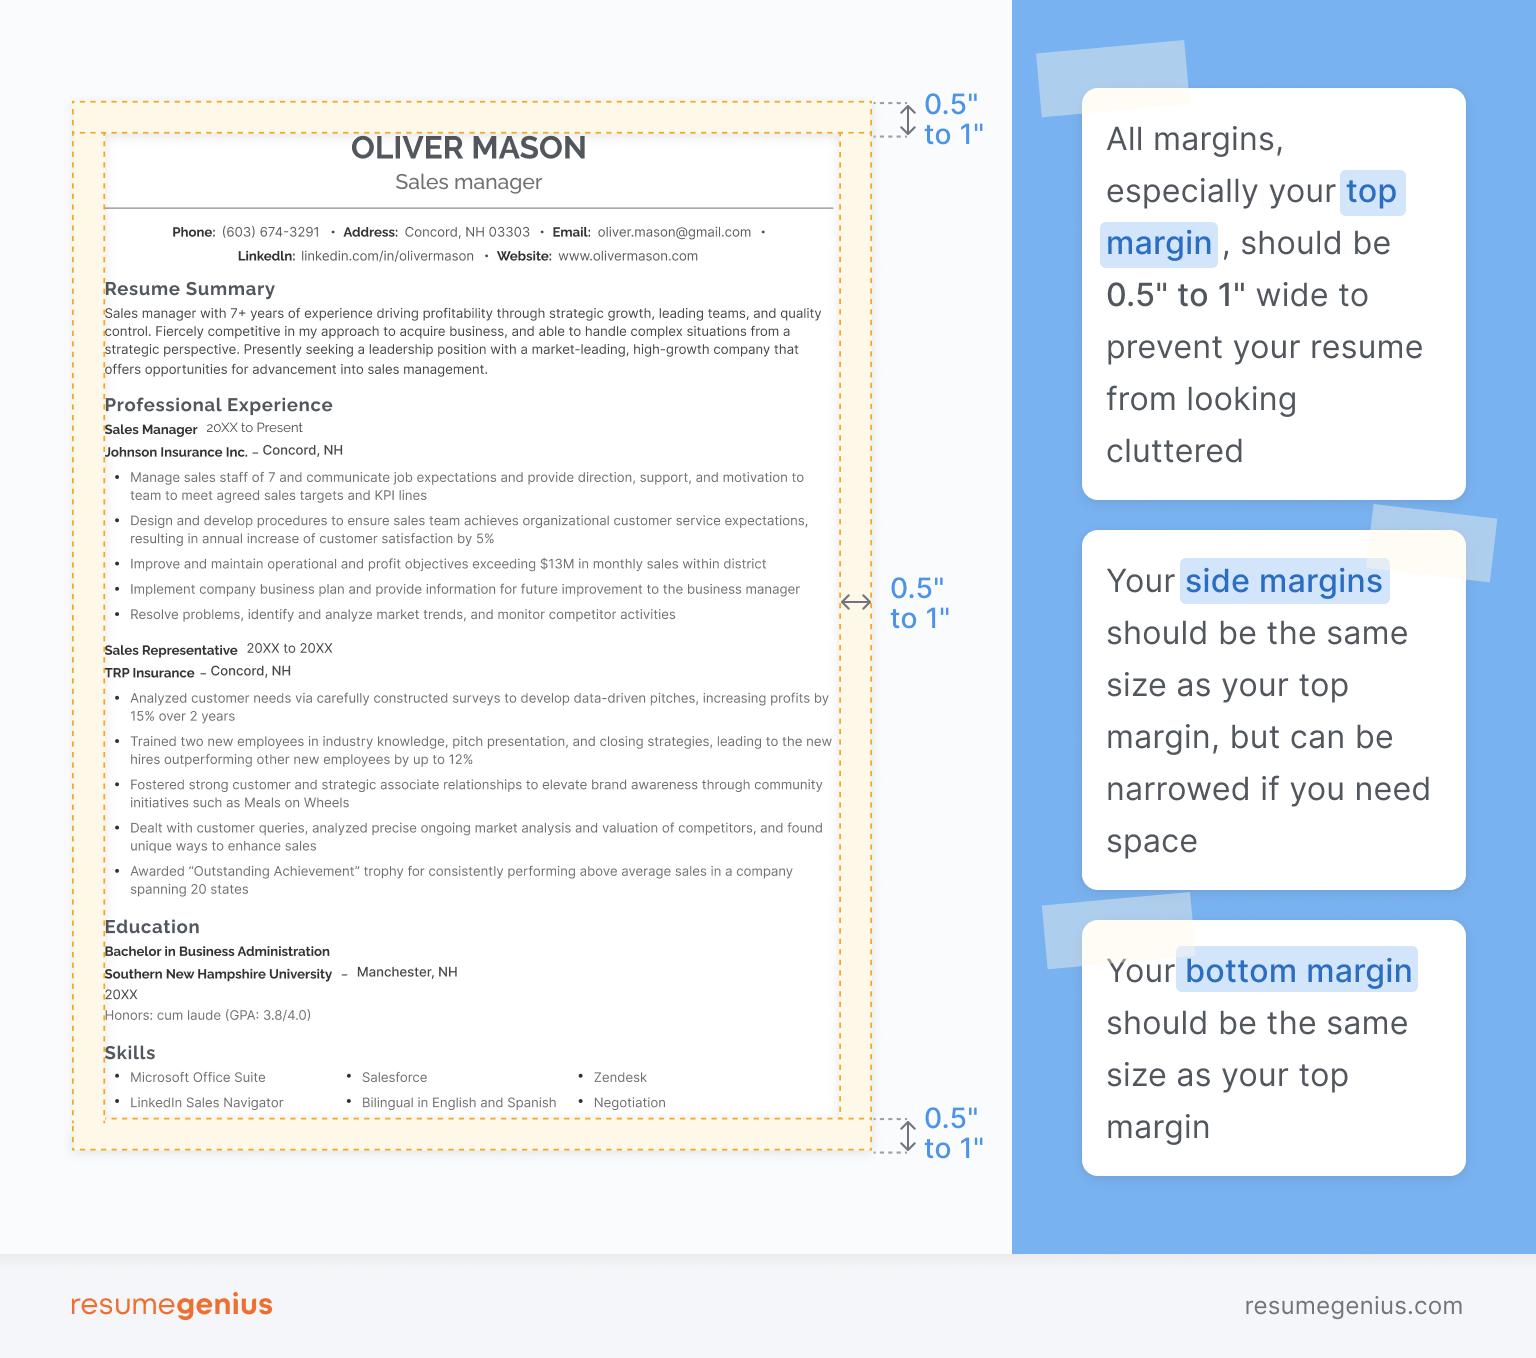
You need to set your margins to an appropriate width if you want your resume to look professional. Follow these guidelines to meet employer expectations.
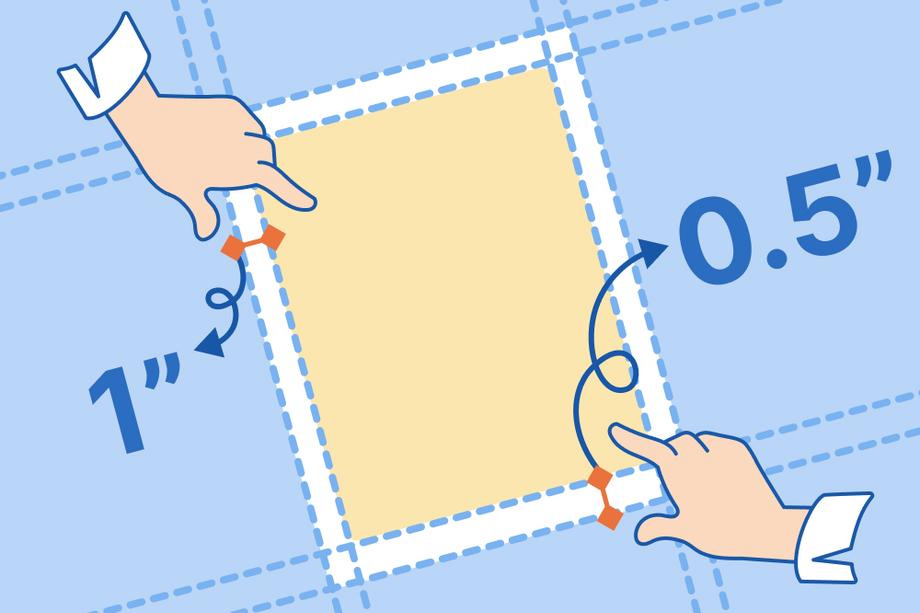
Your resume should use 1-inch margins, which are the default on Microsoft Word. You can reduce your margins to 0.5 inches if you can’t fit your resume to one page, which is the standard resume length.
Do not set your resume margins outside 0.5–1 inches. Three in four hiring managers (72%) say that poor spacing and alignment lowers their opinion of a resume. Incorrect margins are immediately noticeable and can undermine a strong application.
Use this visual aid to make sure your margins are sized correctly:
Setting resume margins in Google Docs
Google Docs makes it easy to change the margins for your resume. Click File on the top menu, then select Page Setup. A pop-up will appear with the options you need.
If you’ve set Google to use American English, this pop-up will use inches. If you see centimeters instead, use 2.54 cm for 1 inch and 1.27 cm for 0.5 inches.
Setting margins in Microsoft Word
Unlike Google Docs, Microsoft Word offers preset resume margin options. They can be accessed by clicking Layout on the menu bar, and then clicking Margins:
The Normal option gives you 1-inch margins on all four sides of your page, while Narrow changes them all to 0.5 inches.
if you want to customize the margins to 1 inch on the top and bottom but 0.5 inches on the sides, you can click Custom Margins at the bottom and manually enter the dimensions.
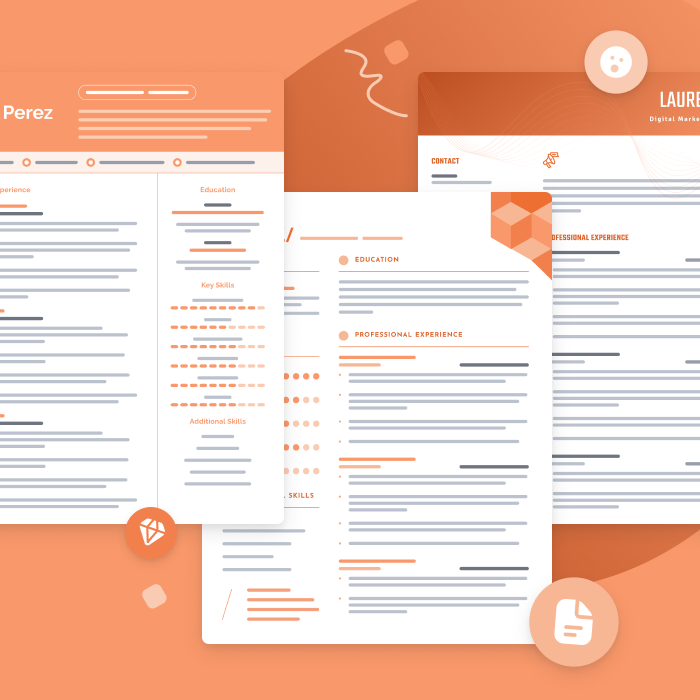
The best resume templates for 2026
One of the best ways to make your resume is by filling out one of our free resume templates. All our templates are designed by experts and free to download for Microsoft Word or Google Docs.
Best margin sizes for printing a resume
Use 1-inch margins if you plan to print your resume. Using 1 margin of this size guarantees that nothing will be cut off when you print out your document.
In the printing section, make sure to select the right paper size. If you’re printing onto US letter-size paper, select that option on your computer.
A4 paper, the paper size used in Europe, Australia, and many other regions, has different dimensions to US letter paper. If you’re printing onto A4 paper, set your margins to 1.6 cm on the left side, 1.3 cm on the top and right, and 1.7 cm on the bottom.
Print your resume on professional resume paper to make a good first impression.
Frequently asked questions about margins
We’ve answered some common questions on resume margins below:
Can I set my margins below 0.5 inches to make space for extra work experience?
You shouldn’t set your resume margins below 0.5 inches. Narrow margins make your resume dense and difficult to read. Save space on your resume by only including your most relevant skills and achievements. Remove any duplicates and cut details that don’t support your ability to do the specific job you’re applying for.
If my resume is less than a page, can I set my margins wider than 1 inch?
No, you should not set your margins wider than 1 inch. Excessive margins create a lot of white space on your resume, making it look incomplete and unprofessional.
If your resume is looking short, consider adding extracurricular achievements, academic achievements, or transferable skills that might support your application. If you can’t get close to filling one page, you may not be qualified for the role yet.
Additional resume writing resources
About the Author

Seb is a Certified Professional Resume Writer with 10 years of combined experience in career counseling and editorial work. With a MA in International Communications from National Chengchi University (Taiwan), he helps job seekers translate their experience into employer-ready applications for global job markets.
Click to rate this article
4.4 Average rating